
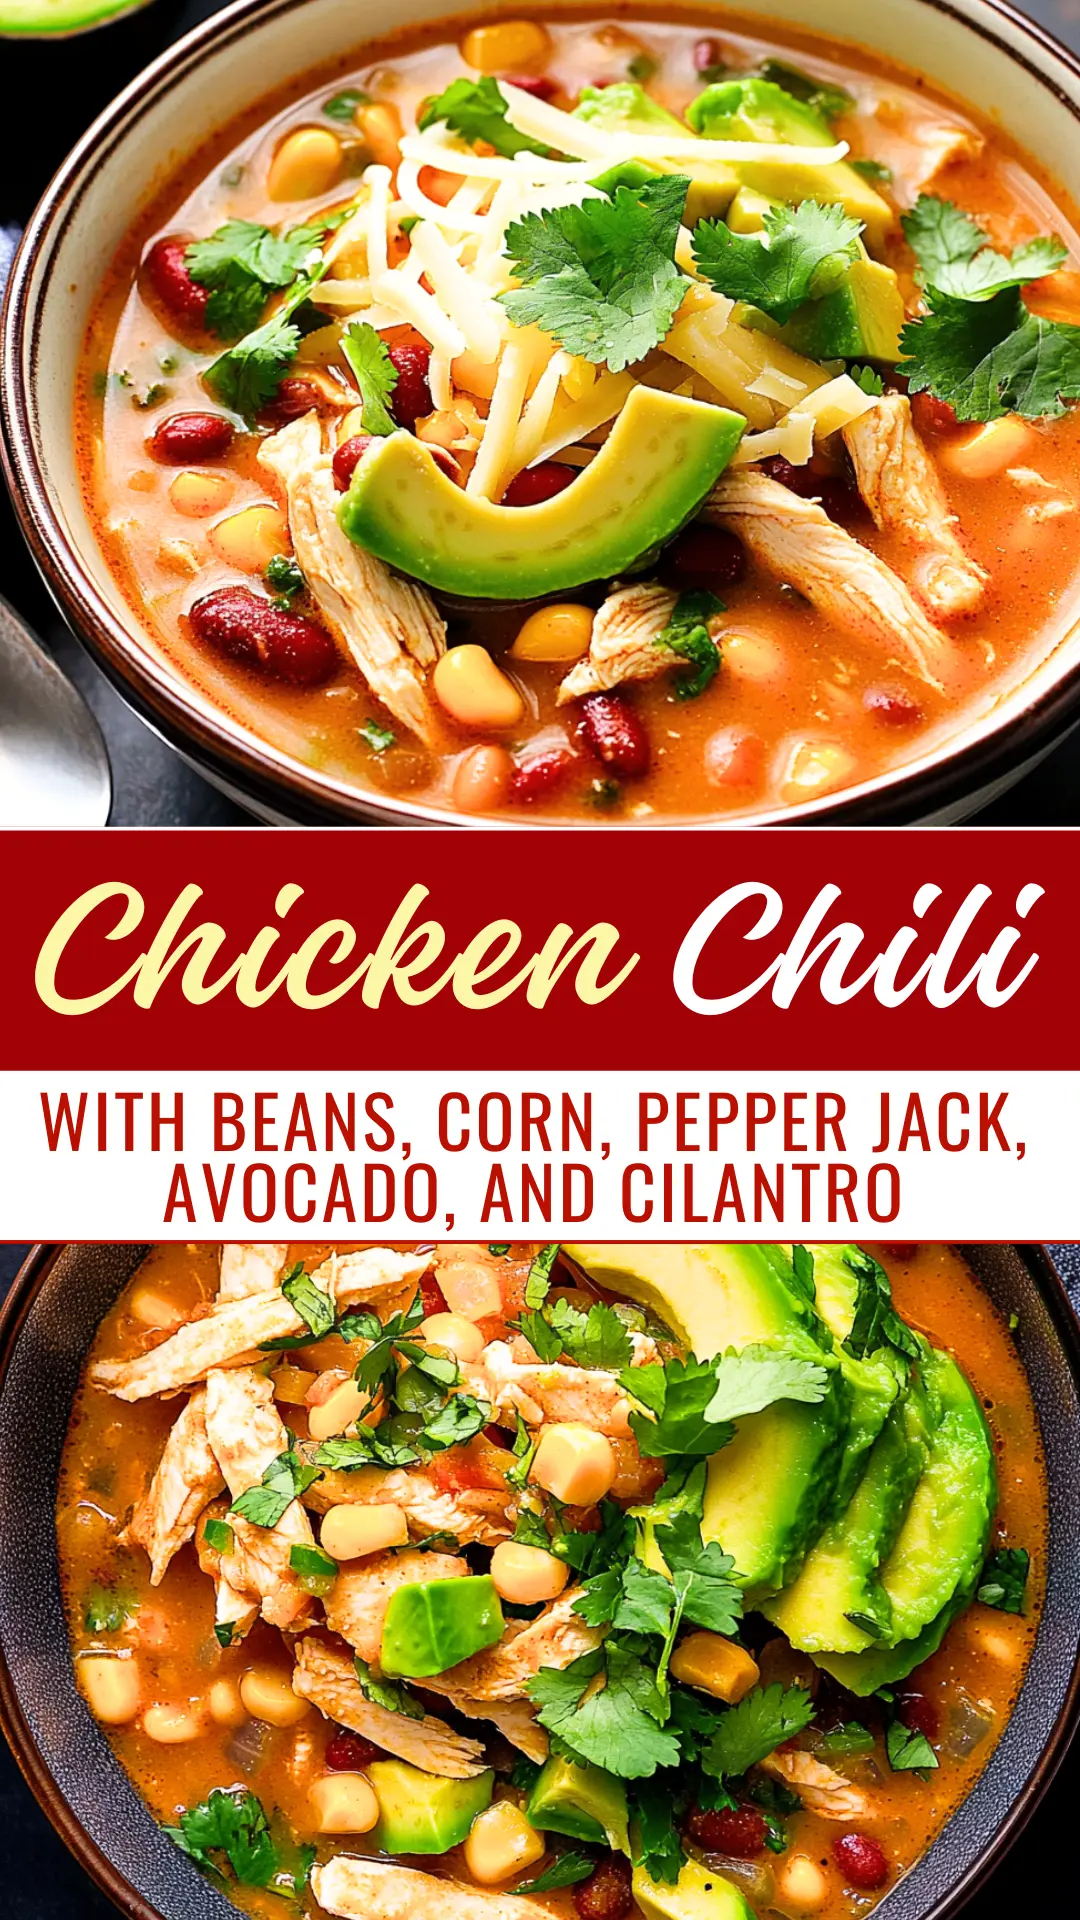
This Chicken Chili is a warm and cozy dish packed with juicy chicken, beans, sweet corn, and a kick from pepper jack cheese! It’s perfect for a chilly day.
I love topping mine with fresh avocado and cilantro. It adds such a nice touch, and who doesn’t want a little creaminess in their chili? Yum!
Key Ingredients & Substitutions
Chicken Breast: I love using cooked and shredded chicken breast for this chili because it’s lean and easy to work with. If you’re looking for a quicker option, rotisserie chicken works perfectly. You can also swap it for shredded cooked turkey or even skip the meat for a vegetarian version!
White Beans: Cannellini or great northern beans add a nice creaminess. If you don’t have these, kidney beans or black beans can also be great substitutions. Just remember that they will change the color of the chili a bit!
Corn: I usually use frozen corn as it’s always ready to go. Fresh corn is awesome if you have it, and canned corn is fine too—just make sure to drain it well. Canned corn can sometimes be sweeter, so adjust seasoning accordingly.
Pepper Jack Cheese: This cheese brings a nice kick to the chili. If you prefer something milder, Monterey Jack or mozzarella can be great alternatives. You can even try spicy cheddar for an extra kick!
How Do I Get My Chili to Have Great Flavor?
Getting that rich, deep flavor in your chili is all about cooking the ingredients properly. Start by sautéing onions, bell pepper, and garlic in olive oil. Take your time here—this step builds the foundation of flavor.
- Cook the veggies for about 5-7 minutes until they soften, stirring occasionally.
- Make sure to add the spices like cumin and chili powder at this stage. This helps release their oils and enhances the taste.
- Let the chili simmer for 15-20 minutes; this allows all the flavors to meld beautifully!

How to Make Chicken Chili with Beans, Corn, Pepper Jack, Avocado, and Cilantro?
Ingredients You’ll Need:
For The Chili:
- 1 lb chicken breast, cooked and shredded
- 1 can white beans (such as cannellini or great northern), drained and rinsed
- 1 cup corn kernels (fresh, frozen, or canned)
- 1 green bell pepper, diced
- 1 onion, diced
- 2 cloves garlic, minced
- 1 can diced green chilies (4 oz)
- 4 cups chicken broth
- 1 cup heavy cream
- 1 tsp cumin
- 1 tsp chili powder
- 1/2 tsp salt (or to taste)
- 1/2 tsp black pepper (or to taste)
- 1 cup shredded Pepper Jack cheese, plus extra for garnish
For The Garnish:
- 1 avocado, sliced
- Fresh cilantro, chopped (for garnish)
- Lime wedges (optional, for serving)
- Olive oil (for cooking)
How Much Time Will You Need?
This delicious Chicken Chili will take about 10 minutes to prep and around 30 minutes to cook, making a total of about 40 minutes from start to finish. It’s an easy and comforting dish perfect for any meal!
Step-by-Step Instructions:
1. Sauté the Vegetables:
In a large pot or Dutch oven, heat about a tablespoon of olive oil over medium heat. Add the diced onion, diced green bell pepper, and minced garlic. Sauté these for about 5-7 minutes, or until the vegetables are softened and fragrant. This will start building the delicious flavor base for your chili!
2. Combine the Ingredients:
Next, stir in the shredded chicken, white beans, corn, diced green chilies, chicken broth, heavy cream, cumin, chili powder, salt, and black pepper. Mix everything together well and bring the mixture to a gentle simmer. You should see some bubbles—this is great, as it helps all the flavors blend together!
3. Simmer the Chili:
Once simmering, reduce the heat to low and let the chili cook for about 15-20 minutes. Stir occasionally so nothing sticks to the bottom. This simmering time is perfect for allowing all those amazing flavors to meld together beautifully!
4. Add the Cheese:
After simmering, stir in the shredded Pepper Jack cheese. Mix until it’s melted and well combined with the chili. Taste a spoonful, and feel free to adjust the seasoning with more salt or pepper, depending on your preference.
5. Serve and Enjoy!
Finally, remove the pot from the heat. Serve your tasty chili hot in bowls, topped with slices of avocado, extra shredded cheese, and a sprinkle of fresh cilantro for that lovely touch! If you like, you can add some lime wedges on the side for a zesty kick. Enjoy your delicious chicken chili!
Can I Use Substitutes for the Chicken?
Absolutely! You can use shredded rotisserie chicken for a quicker option or substitute it with cooked turkey, tofu, or even canned chickpeas for a vegetarian version. Just remember, if using tofu or beans, adjust the cooking time slightly to ensure everything is heated through.
Can I Make This Chili in Advance?
Yes, you can prepare this chili up to 2 days in advance! Just follow all the steps until serving, then store it in an airtight container in the fridge. When ready to enjoy, reheat it gently on the stove, adding a splash of broth or cream if it thickens too much.
What’s the Best Way to Store Leftovers?
Store leftovers in an airtight container in the fridge for up to 3 days. It’s also freezer-friendly! Just let the chili cool completely before transferring it to freezer-safe bags or containers. It can be frozen for up to 3 months; thaw overnight in the fridge before reheating.
Can I Adjust the Spice Level?
Definitely! If you prefer a milder chili, you can reduce or omit the chili powder and diced green chilies. Conversely, for more heat, add additional jalapeños or some cayenne pepper to taste. Just make sure to taste as you go!