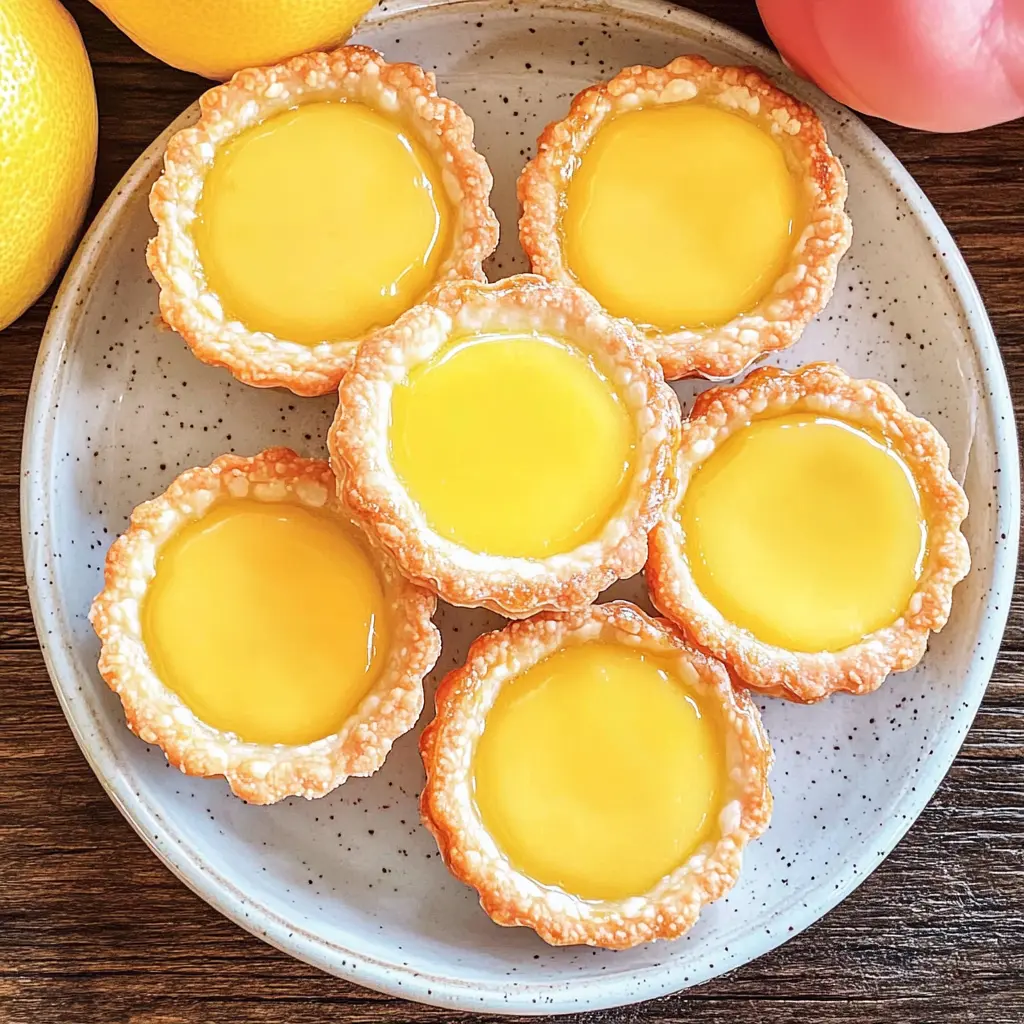
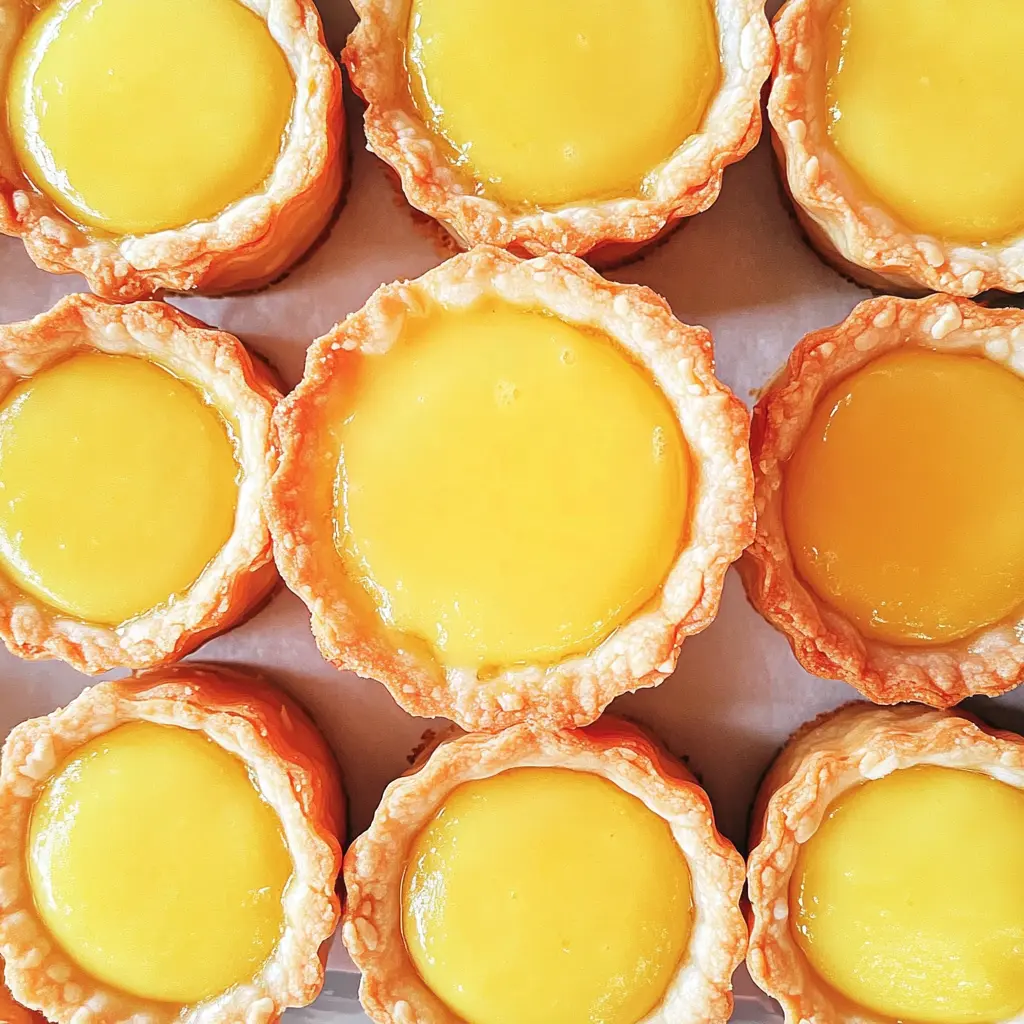
These Mini Lemon Tarts are a burst of sunshine in every bite! With a buttery crust and a zesty lemon filling, they are perfect for any occasion or just a sweet treat at home.
I love how easy they are to make! Plus, you can enjoy them without feeling guilty because they’re just the right size. Who needs a fork when you can pop them in your mouth? 😋
Key Ingredients & Substitutions
All-Purpose Flour: This is essential for the tart crust. If you’re looking for a gluten-free option, almond flour or a gluten-free baking blend can work well. I find a mix of almond flour adds a lovely nutty flavor!
Butter: Unsalted butter is preferred for control over salt levels. If you need a dairy-free version, try using coconut oil or a dairy-free butter substitute. Both work surprisingly well in this recipe!
Lemon Juice & Zest: Fresh lemons are key for bright flavor. In a pinch, you can use bottled lemon juice, but fresh is always better! Lime juice can also be a fun substitute for a different citrus twist.
Heavy Cream: This gives the filling a richness. Half-and-half or whole milk can be used if you’re looking to reduce fat, but the texture might be slightly less creamy. For dairy-free, try coconut cream!
How Do I Blind Bake the Tart Crust Perfectly?
Blind baking is important to keep the tart crust crispy when adding the filling. Here’s how to do it right:
- Preheat your oven and prepare the crust in muffin tins.
- Prick the bottoms of each tart shell with a fork to prevent bubbling.
- To weigh down the crust, use parchment paper and fill with pie weights or dried beans. This keeps them from puffing up.
- Bake until just golden, about 15 minutes, then let them cool before adding the filling.
Taking these steps ensures your tarts have a nice texture and won’t become soggy! Trust me, it’s worth the extra care.
Delicious Mini Lemon Tarts Recipe
Ingredients You’ll Need:
For the Tart Crust:
- 1 cup all-purpose flour
- 1/4 cup powdered sugar
- 1/2 cup unsalted butter, cold and cubed
- 1/4 teaspoon salt
- 1-2 tablespoons cold water (as needed)
For the Lemon Filling:
- 1/2 cup granulated sugar
- 2 large eggs
- 1/4 cup freshly squeezed lemon juice (about 2 lemons)
- Zest of 1 lemon
- 1/4 cup heavy cream
For Garnish:
- Powdered sugar (for dusting)
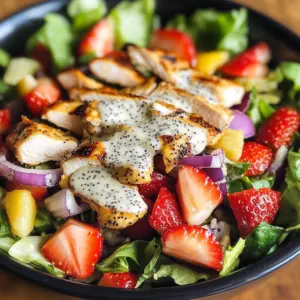
- Fresh berries (such as strawberries or blueberries)
- Lemon slices (optional)
How Much Time Will You Need?
This delightful recipe takes about 15 minutes to prepare and 45 minutes to bake and cool. After chilling the dough for 30 minutes, you’ll create the crust and filling, bake them, and then let them cool completely before adding the finishing touches. You’ll have delicious mini lemon tarts ready in no time!
Step-by-Step Instructions:
1. Prepare the Tart Crust:
Start by combining the all-purpose flour, powdered sugar, and salt in a mixing bowl. Add the cold, cubed butter into the mixture. Use your hands or a pastry cutter to mix it until it looks like coarse crumbs. Gradually add cold water, one tablespoon at a time, until you can form a dough. Just remember, you don’t want it too sticky!
2. Chill the Dough:
Shape your dough into a disc and wrap it in plastic wrap. Pop it into the refrigerator and let it chill for at least 30 minutes. This step will help you get a nice flaky crust!
3. Preheat the Oven:
While your dough is chilling, preheat your oven to 350°F (175°C) so it’s ready for baking later. It’s always good to have the oven prepared before you fill those tarts!
4. Roll Out the Dough:
Once the dough is nice and chilled, take it out and roll it out on a floured surface to about 1/8 inch thick. Use a round cutter to cut out circles to fit into a muffin tin. Press them gently into each cavity to make little tart crusts.
5. Blind Bake the Crusts:
To bake the crusts, first prick the bottoms with a fork to prevent them from puffing up. Then bake them in the preheated oven for about 15 minutes or until they turn lightly golden. After baking, remove them from the oven and let them cool in the tin for a bit.
6. Make the Lemon Filling:
In a separate mixing bowl, whisk together the granulated sugar and eggs until smooth. Next, add in the lemon juice, lemon zest, and heavy cream. Keep whisking until everything is well blended and incorporated. This filling is going to be so tangy and delicious!
7. Fill the Tart Shells:
Now it’s time to fill your lovely tart shells! Carefully pour the prepared lemon filling into each one, filling them about 3/4 full. Be gentle and take your time to avoid any spills.
8. Bake the Tarts:
Return the filled tarts back to the oven and bake them for another 15-20 minutes. You’ll know they’re done when the filling is set and slightly firm to the touch. Keep an eye on them, as baking times can vary a little.
9. Cool and Garnish:
After baking, remove the mini tarts from the oven and allow them to cool completely. Once they’re cool, dust them lightly with powdered sugar. You can also top them with fresh berries and lemon slices for a beautiful presentation.
10. Serve:
Your mini lemon tarts are now ready to enjoy! Serve them chilled or at room temperature, and get ready for compliments. They’re perfect for any occasion!

Can I Use Store-Bought Pie Crust Instead of Making My Own?
Absolutely! If you’re looking for a time saver, store-bought pie crust can work perfectly. Simply follow the instructions on the package for pre-baking before filling with the lemon mixture, and you’ll have a delicious tart in no time!
What Can I Use If I Don’t Have Heavy Cream?
If you don’t have heavy cream on hand, you can substitute it with half-and-half or evaporated milk for a lighter option. Alternatively, you can whisk together 3/4 cup of milk with 1/4 cup of melted butter to mimic heavy cream’s richness.
How Should I Store Leftover Tarts?
Store any leftover mini lemon tarts in an airtight container in the fridge, where they’ll keep well for up to 3 days. Just remember to add the garnish, like powdered sugar and berries, right before serving to maintain freshness!
Can I Make These Tarts in Advance?
Yes! You can pre-bake the tart crusts a day ahead, and store them at room temperature. Prepare the lemon filling the same day you plan to serve them for the best texture, and then fill and bake them right before serving!