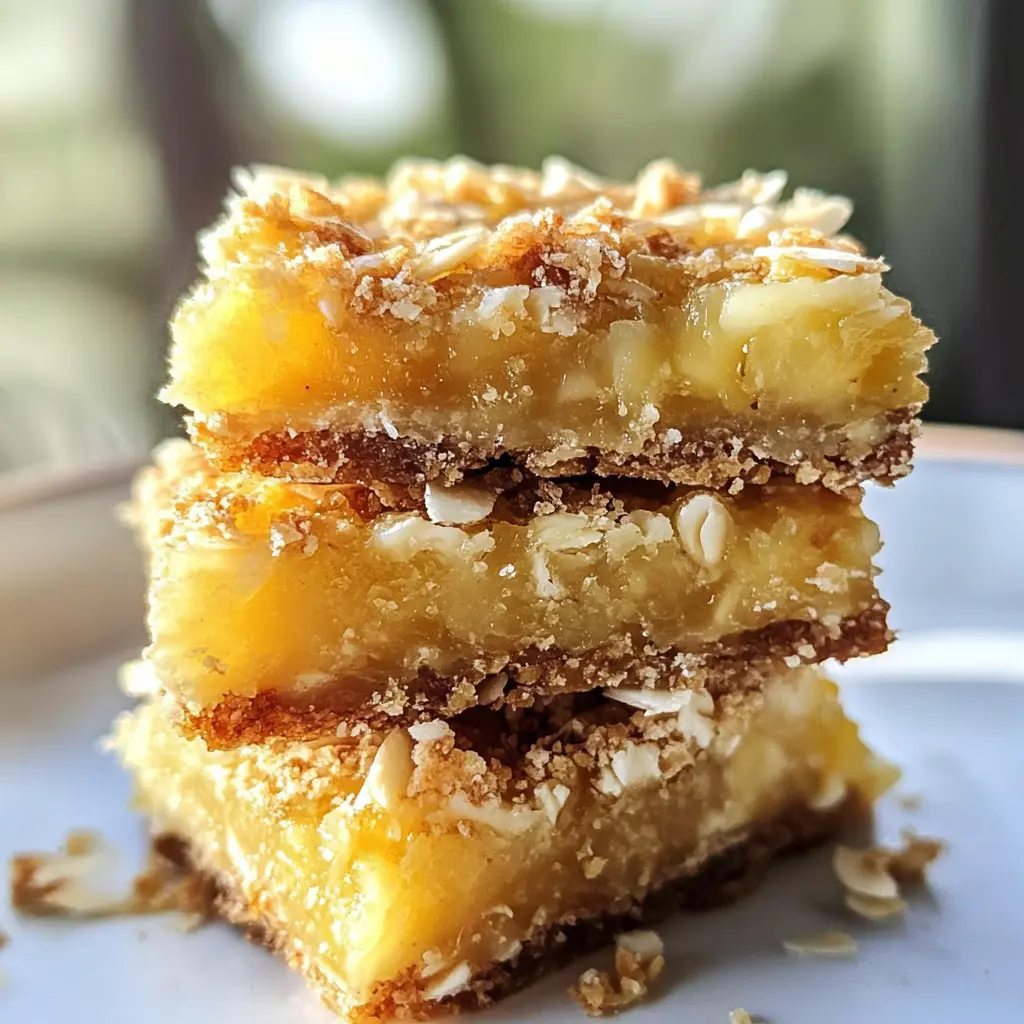
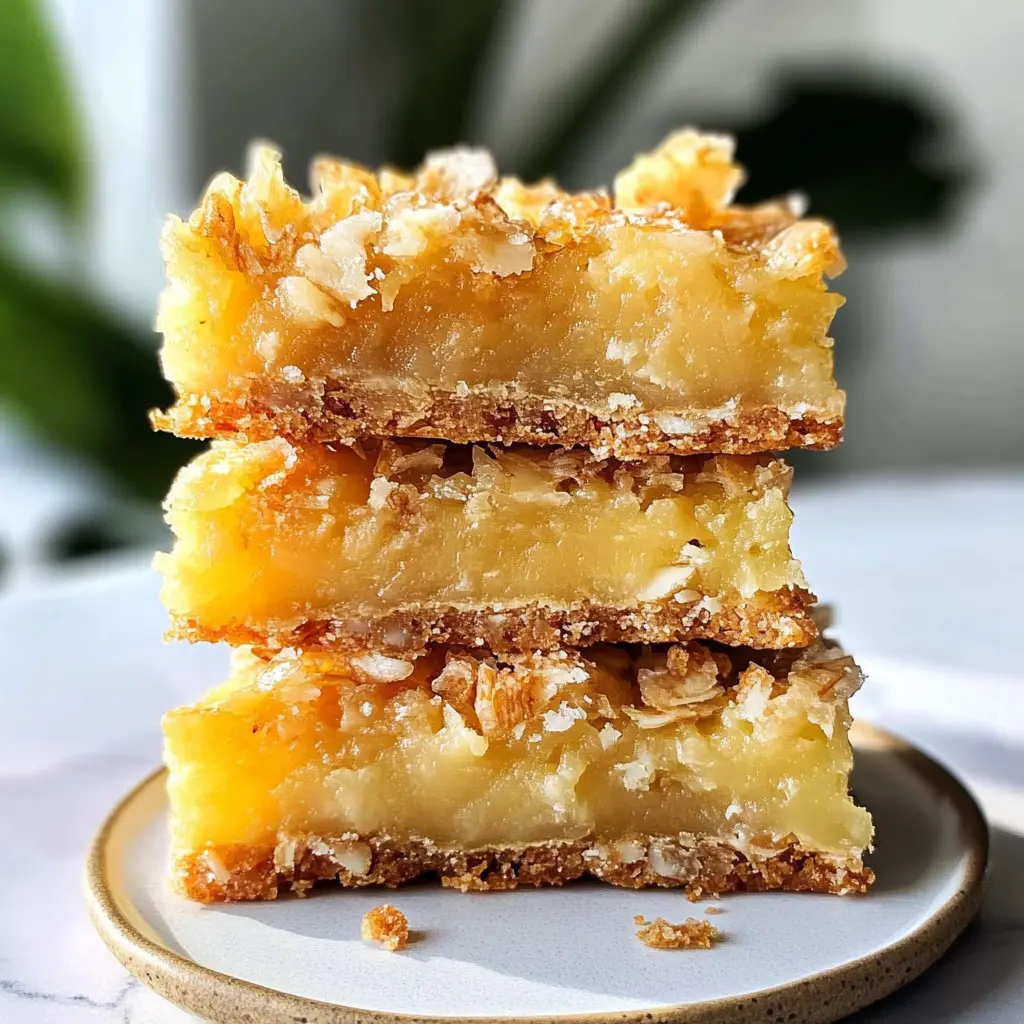
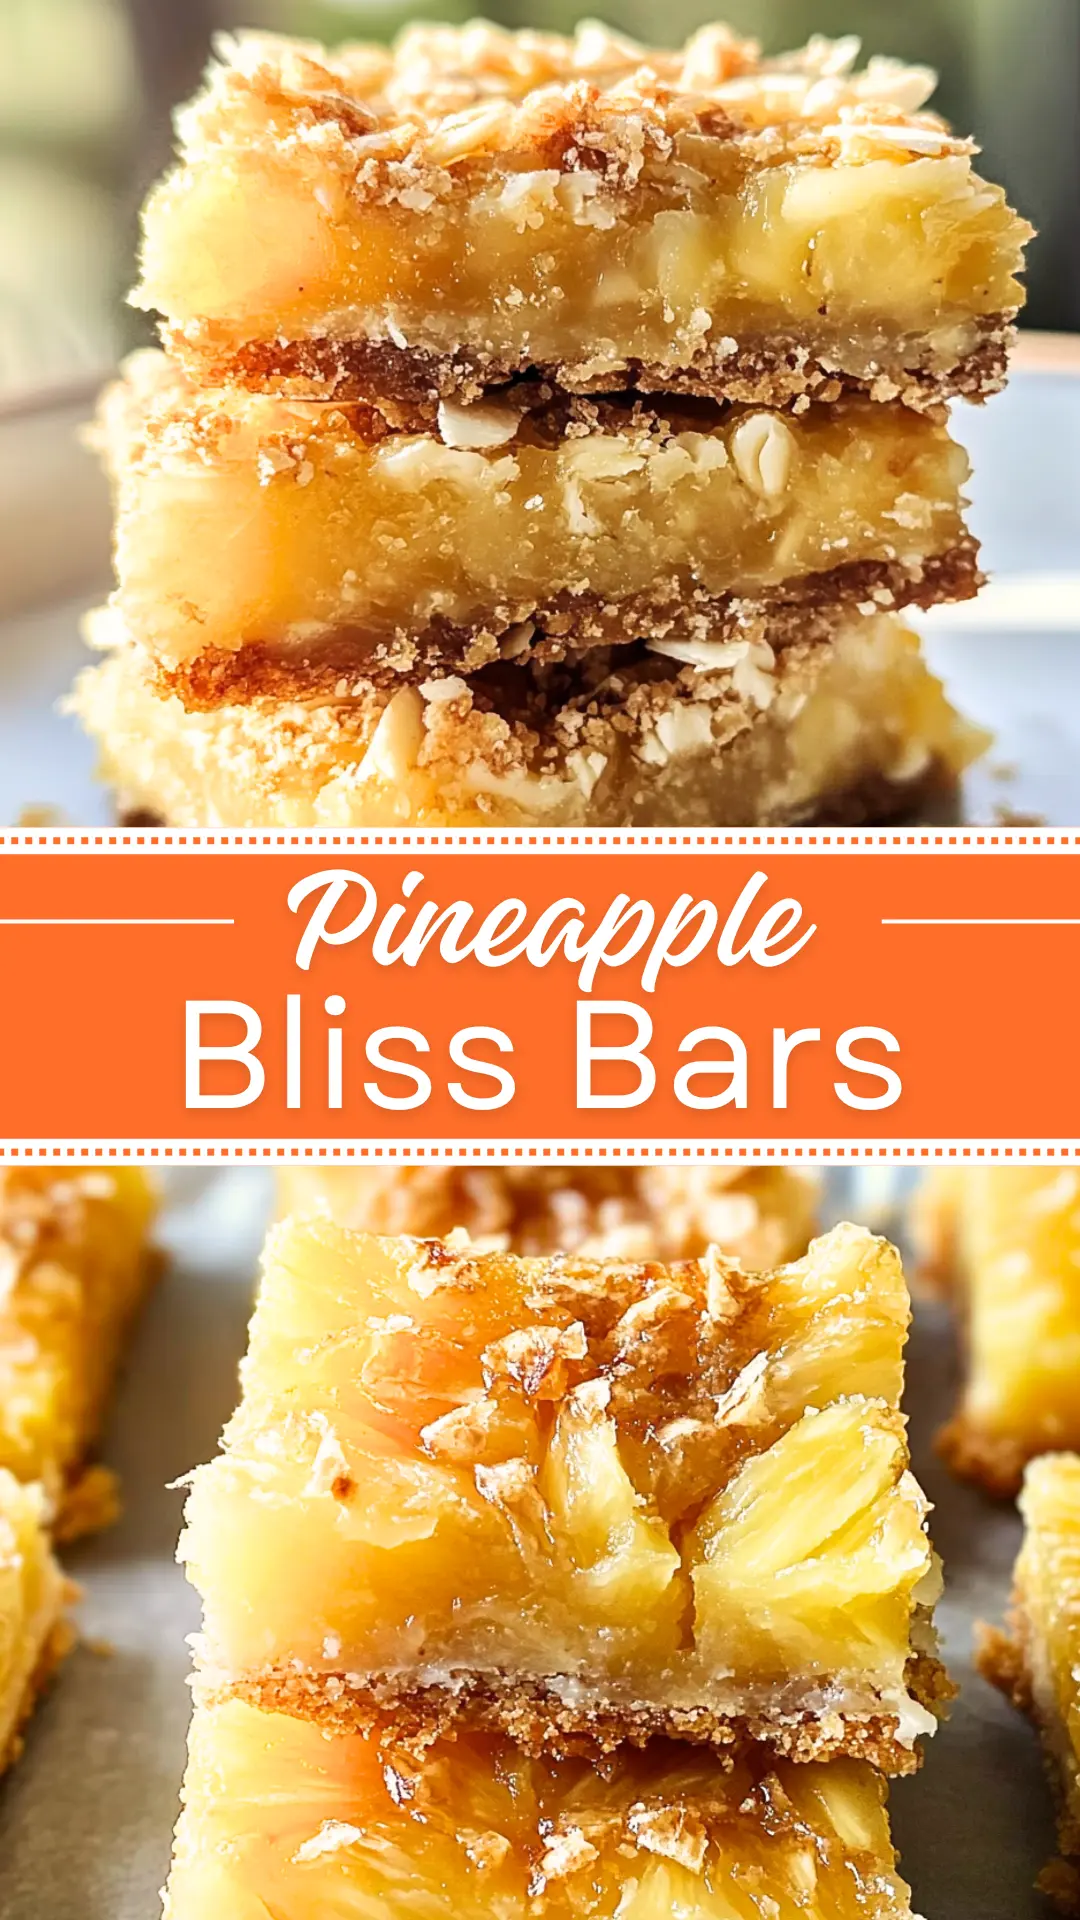
Pineapple Bliss Bars are sweet, fruity treats that bring a taste of the tropics to your day! With a delicious layer of creamy pineapple goodness on top of a crunchy base, they are simply mouthwatering.
Trust me, one bite and you’ll feel like you’re on a beach vacation! I love serving these at parties, and they disappear faster than a summer sunset! 🌴
Key Ingredients & Substitutions
Unsalted Butter: This ingredient provides the bars with a rich flavor. If you’re watching your sodium intake, unsalted butter is the way to go. For a dairy-free option, try using coconut oil, which will enhance the tropical taste!
Granulated Sugar: Regular sugar gives these bars their sweetness. If you’re looking for a healthier alternative, you could use coconut sugar or honey, but keep in mind that either will alter the texture slightly.
All-Purpose Flour: This is the base of the bars. If you want to make these gluten-free, substitute with a gluten-free all-purpose blend. Just make sure it contains xanthan gum for proper binding.
Coconut: I love using shredded coconut for texture and flavor. Sweetened coconut adds extra sweetness, while unsweetened is a bit more subtle. Choose based on your preference, or switch to finely chopped nuts if you prefer a nutty taste.
Pecans or Walnuts: These nuts add a nice crunch. If you’re allergic or prefer a different flavor, try using almonds or sunflower seeds. They’ll give you a similar texture without the nutty flavor!
How Do I Ensure My Pineapple Bliss Bars Are Perfectly Baked?
Baking these bars to perfection is key to enjoying their deliciousness. Here’s how you can achieve that:
- Keep an eye on the baking time. Start checking at 30 minutes; they should be golden brown and set in the center.
- Use the toothpick test. Insert it in the middle; it should come out clean or with a few moist crumbs, not wet batter.
- Let them cool in the pan for a bit, which helps them set properly. Transferring directly to a wire rack too soon can make them break apart.
Following these tips will help ensure your Pineapple Bliss Bars are a hit every time! Enjoy baking!
How to Make Pineapple Bliss Bars
Ingredients You’ll Need:
For the Bars:
- 1/2 cup unsalted butter, melted
- 1 cup granulated sugar
- 1 cup all-purpose flour
- 1 tsp baking powder
- 1/4 tsp salt
- 1 egg, lightly beaten
- 1 (20 oz) can crushed pineapple, drained
- 1 1/2 cups shredded coconut (sweetened or unsweetened)
- 1/2 cup chopped pecans or walnuts (optional)
- 1 tsp vanilla extract
How Much Time Will You Need?
This recipe will take you about 15 minutes for preparation and around 30-35 minutes for baking. Make sure to let the bars cool for about 10-15 minutes after baking. All in all, you’ll have delicious Pineapple Bliss Bars in about an hour!
Step-by-Step Instructions:
1. Prepare the Oven and Baking Dish:
First things first, preheat your oven to 350°F (175°C). While that’s warming up, grab a 9×9-inch baking dish. You can either grease it with a little butter or line it with parchment paper to make removing the bars easier later.
2. Mix the Butter and Sugar:
In a large mixing bowl, pour in the melted butter and then add the granulated sugar. Use a whisk to mix them together until it looks well combined and glossy. This will be the sweet base for your bars!
3. Combine Dry Ingredients:
Now add the all-purpose flour, baking powder, salt, and the lightly beaten egg to the butter and sugar mixture. Gently stir everything together until it’s just mixed. Be careful not to overmix – a few lumps are totally fine!
4. Fold in the Pineapple and Coconut:
Take your drained crushed pineapple and gently fold it into the batter, along with the shredded coconut and chopped nuts if you’re using them. Add the vanilla extract and continue folding until everything is evenly mixed. You’ll love the tropical smell!
5. Bake the Bars:
Pour all that delicious mixture into your prepared baking dish. Use a spatula to spread it out evenly. Pop it into the oven and bake for 30-35 minutes. You’ll know it’s ready when the top is golden brown and a toothpick inserted in the center comes out clean or with just a few moist crumbs.
6. Cool and Serve:
Once out of the oven, let the bars cool in the pan for about 10-15 minutes. Then, carefully transfer them to a wire rack to cool completely. When they are cool, cut them into squares, serve, and enjoy the sweet, tropical flavor of your Pineapple Bliss Bars!
Can I Substitute the Nuts in This Recipe?
Absolutely! If you’re not a fan of pecans or walnuts, you can leave them out entirely or substitute them with your favorite nuts like almonds or macadamia nuts. You can also use seeds, like sunflower seeds, if you want to keep it nut-free!
Can I Use Fresh Pineapple Instead of Canned?
Yes, fresh pineapple can be used! Just make sure to finely chop or crush it and drain any excess juice. You may need about 2 cups of fresh pineapple to equal the volume of one 20 oz can, but adjust the sugar slightly to taste since fresh pineapple can vary in sweetness.
How Should I Store Pineapple Bliss Bars?
To keep your Pineapple Bliss Bars fresh, store them in an airtight container at room temperature for up to 3 days. For longer storage, you can refrigerate them for about a week, or freeze them for up to 3 months. Just make sure to wrap them well to prevent freezer burn!
Can I Make These Bars Gluten-Free?
Yes! To make these bars gluten-free, simply substitute the all-purpose flour with a 1:1 gluten-free baking mix. Be sure to check the mix contains xanthan gum or add it separately, as it helps with the texture!