When the beaters first hit softened cream cheese, it clings in soft ridges; a minute later, the mixture turns smooth and glossy. That change gives Hot Cocoa Dip its creamy base instead of a lumpy one. The finished bowl is cool and fluffy, with the familiar chocolate-and-marshmallow character of hot cocoa made for dipping.
Marshmallow creme and hot cocoa mix blend into a rich base, while the whipped topping keeps the dip light enough to scoop. Mini marshmallows add little soft bites throughout, so each scoop feels more like hot cocoa than a bowl of frosting.
This is a no-bake dip for a dessert table or an easy afternoon treat. I like that it takes only a few minutes of mixing before the refrigerator does the rest, and the chilled texture is soft enough to scoop without running off the spoon.
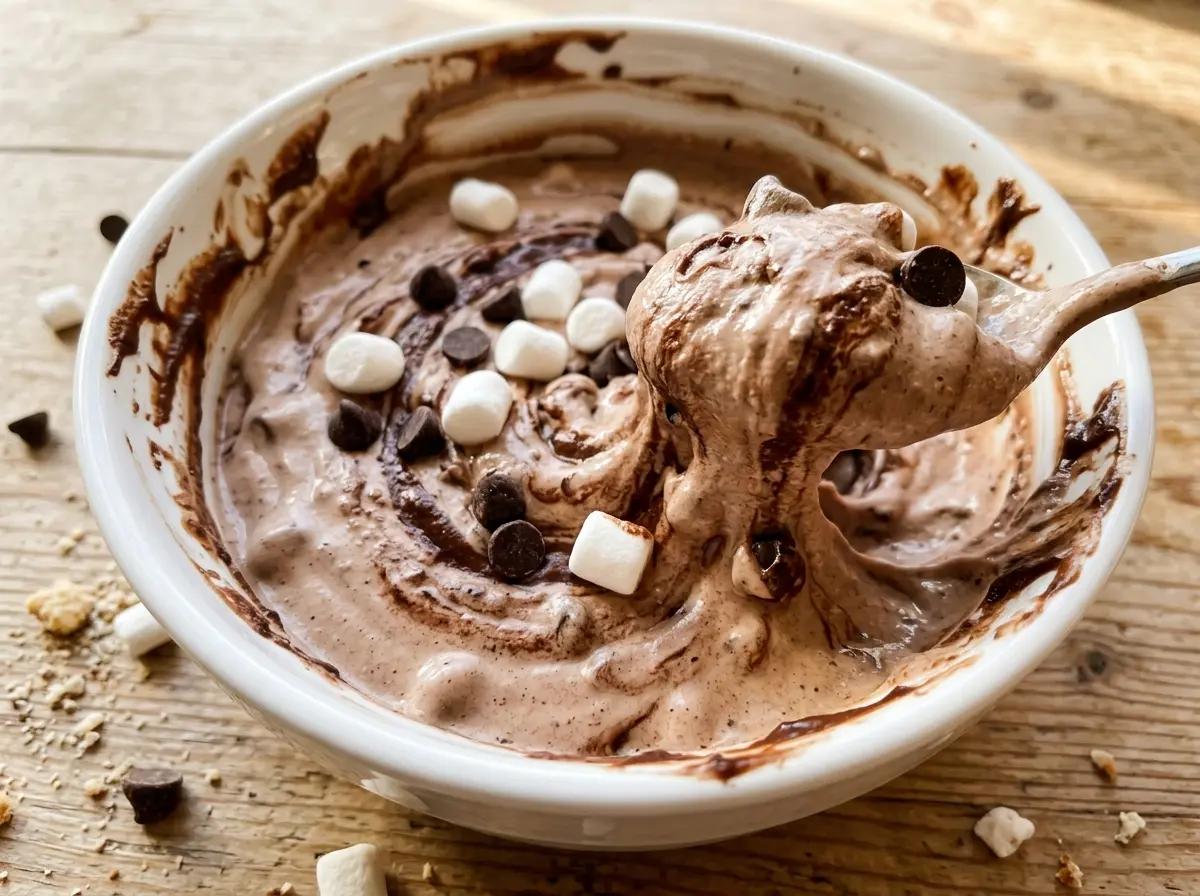
Kitchen Note
I don’t rush the refrigerator rest. Right after mixing, the dip is softer; after at least 30 minutes covered in the fridge, it holds its shape better on a scoop.
Save Hot Cocoa Dip for a no-bake treat with a cool, fluffy texture and soft marshmallow bites.
Why the Cocoa Mix Goes Into the Cream Cheese Before the Whipped Topping
Hot cocoa mix blends most evenly when it goes into the thicker cream cheese and marshmallow creme base. Those ingredients can take the beating needed to smooth out the cocoa without worrying about knocking the air out of the whipped topping.
Once the topping is in the bowl, the goal changes. You want to keep its light texture, not beat the mixture into a uniform, dense paste. If cocoa mix is added at that point, it takes more stirring to distribute it, and the dip can lose some of its fluff. Building the chocolate base first gives you an even cocoa flavor before the lighter ingredients join in.
The same order also helps the mini marshmallows stay distinct. They go in at the end, so they’re spread through the dip rather than broken down by the mixer. You’ll get a creamy scoop with little marshmallow pieces still visible, instead of a completely smooth chocolate mixture.
What Each Hot Cocoa Dip Ingredient Contributes to the Scoopable Texture
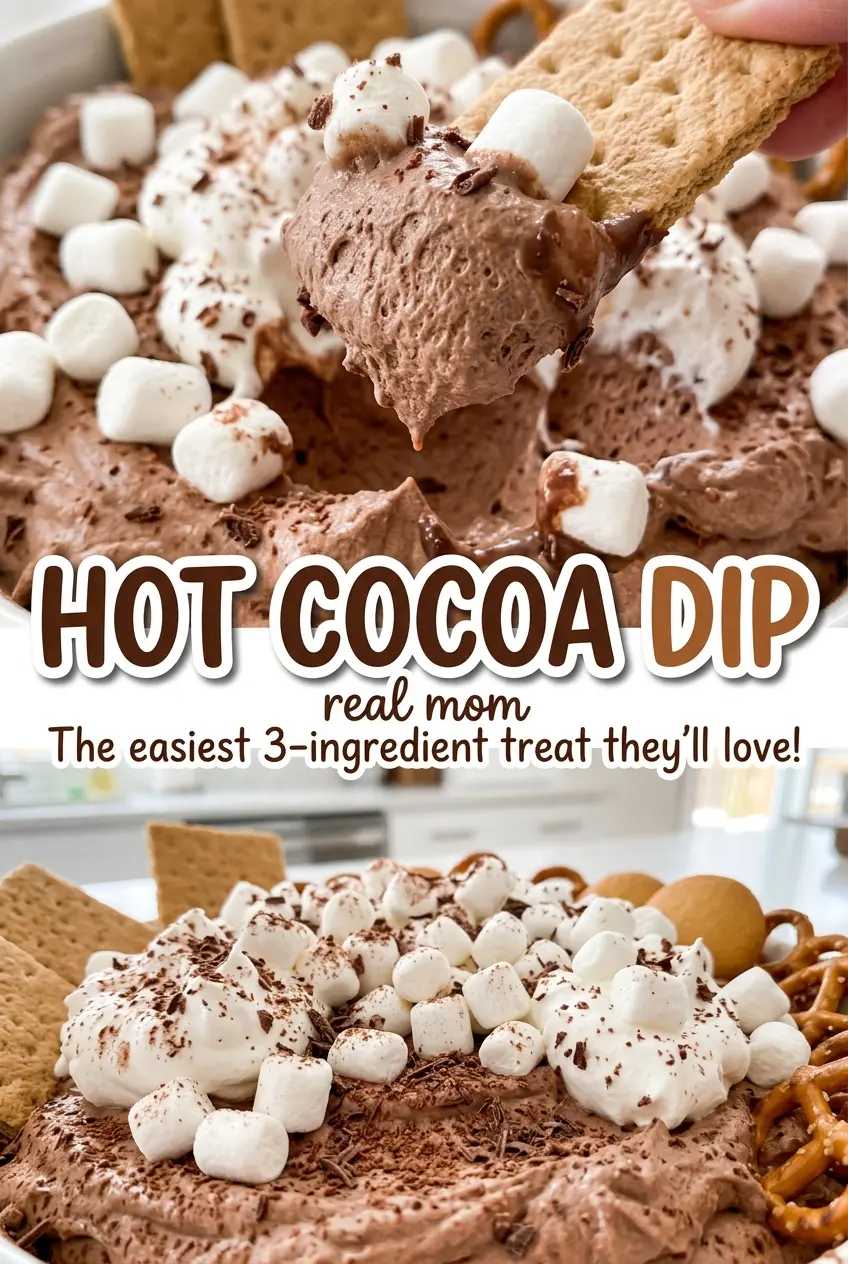
- Cream cheese — A block gives the dip its tang and structure. A standard store brand works well; use it softened so it blends smoothly rather than leaving small firm bits in the base. Spreadable cream cheese from a tub tends to make a softer dip.
- Marshmallow creme — This contributes sweetness and a sticky, smooth texture that mini marshmallows can’t provide on their own. There isn’t a direct one-for-one replacement that keeps the same consistency, so it’s worth using the jarred creme for this version.
- Hot cocoa mix — The mix brings chocolate flavor along with the sweetness that balances the tang of the cream cheese. Different brands vary in how chocolatey they taste, so use one you enjoy drinking. A flavored hot cocoa mix can stand in for the standard kind in the same step; plain cocoa powder won’t contribute the same sweetness.
- Frozen whipped topping — Once thawed, it adds the airy finish and holds that texture better than an un-stabilized topping. A store brand is fine; the important detail is that it’s thawed before you fold it in.
- Mini marshmallows — They add a soft, chewy contrast to the smooth base. Fresh, soft marshmallows are easiest to fold through evenly; older, firm ones won’t give the same tender bites.
Mixing Hot Cocoa Dip Without Losing Its Fluffy Texture
Beat the Cream Cheese Until Smooth
Put the softened cream cheese in a medium bowl and beat with a hand mixer on medium speed for about 1 minute. Watch for the texture to change from ridged and slightly uneven to smooth throughout. Starting with a smooth base makes it easier for the next ingredients to blend in evenly.
Build the Cocoa Base
Add the marshmallow creme and hot cocoa mix to the bowl. Beat on medium speed for 1 to 2 minutes, until the mixture looks evenly combined and no streaks of cocoa mix remain. The base will be thicker than the finished dip, which is exactly what you want before adding the whipped topping.
Fold in the Airy Topping and Marshmallows
Add the thawed whipped topping and mini marshmallows. Fold until both are evenly distributed and the mixture looks light, with marshmallow pieces visible throughout. Stop once everything is combined; continuing to stir after that point works against the fluffy texture.
Let the Covered Dip Chill
Cover the bowl and refrigerate for at least 30 minutes before serving. The dip should feel cooler and hold together more neatly when scooped than it did straight after mixing. Keep it covered during the chill so the surface stays fresh.
Two Useful Changes for Hot Cocoa Dip
Make It Smooth Without Mini Marshmallows
Leave out the mini marshmallows for a smoother, more uniform dip. The chocolate-marshmallow flavor stays, but you lose the little chewy pockets that make the original version feel like a bowl of hot cocoa.
Make a Dairy-Free Version
Use block-style dairy-free cream cheese, non-dairy frozen whipped topping, and dairy-free hot cocoa mix. Choose dairy-free marshmallow creme and mini marshmallows as well; the finished dip may be a little less tangy or airy, depending on the replacements.
Keeping Hot Cocoa Dip Chilled
- Refrigerator: Store covered and use within 3 days. The mini marshmallows soften and the dip gradually loses some of its airy texture.
- Freezer: I don’t recommend freezing it; thawing can make the cream cheese and whipped topping watery or grainy.
- Serving: Keep it chilled until serving and return leftovers to the refrigerator promptly. Discard dip left at room temperature for more than 2 hours.
Questions About Hot Cocoa Dip That Come Up at the Bowl
Hot Cocoa Dip
Ingredients
Equipment
Method
- In a medium bowl, beat the cream cheese with a hand mixer on medium speed until smooth, about 1 minute.
- Add the marshmallow creme and hot cocoa mix, then beat until well combined, 1 to 2 minutes.
- Fold in the whipped topping and mini marshmallows until evenly combined.
- Cover the dip.
- Refrigerate for at least 30 minutes before serving.