The cocoa powder tends to cling to the whisk at first, then the sugar and dry milk help turn it into a smooth, familiar cup once everything is blended well. I like having this easy homemade hot cocoa mix ready in the pantry, especially when making a mug from scratch would mean measuring several ingredients before the kettle is even on.
Whisking the dry ingredients together before they go into the container gives every scoop a balanced share of cocoa, sugar, milk powder, and salt. When it’s time for a cup, the mix goes into boiling water while you whisk; that’s what helps the powders dissolve instead of sitting in little flecks on the surface. The finished cocoa is cozy, gently sweet, and easy to make one serving at a time.
Kitchen Note
Whisk the mix into the water while it’s boiling, and keep whisking until the cocoa is dissolved. If you stop too soon, dry specks can cling to the sides of the cup instead of blending in.
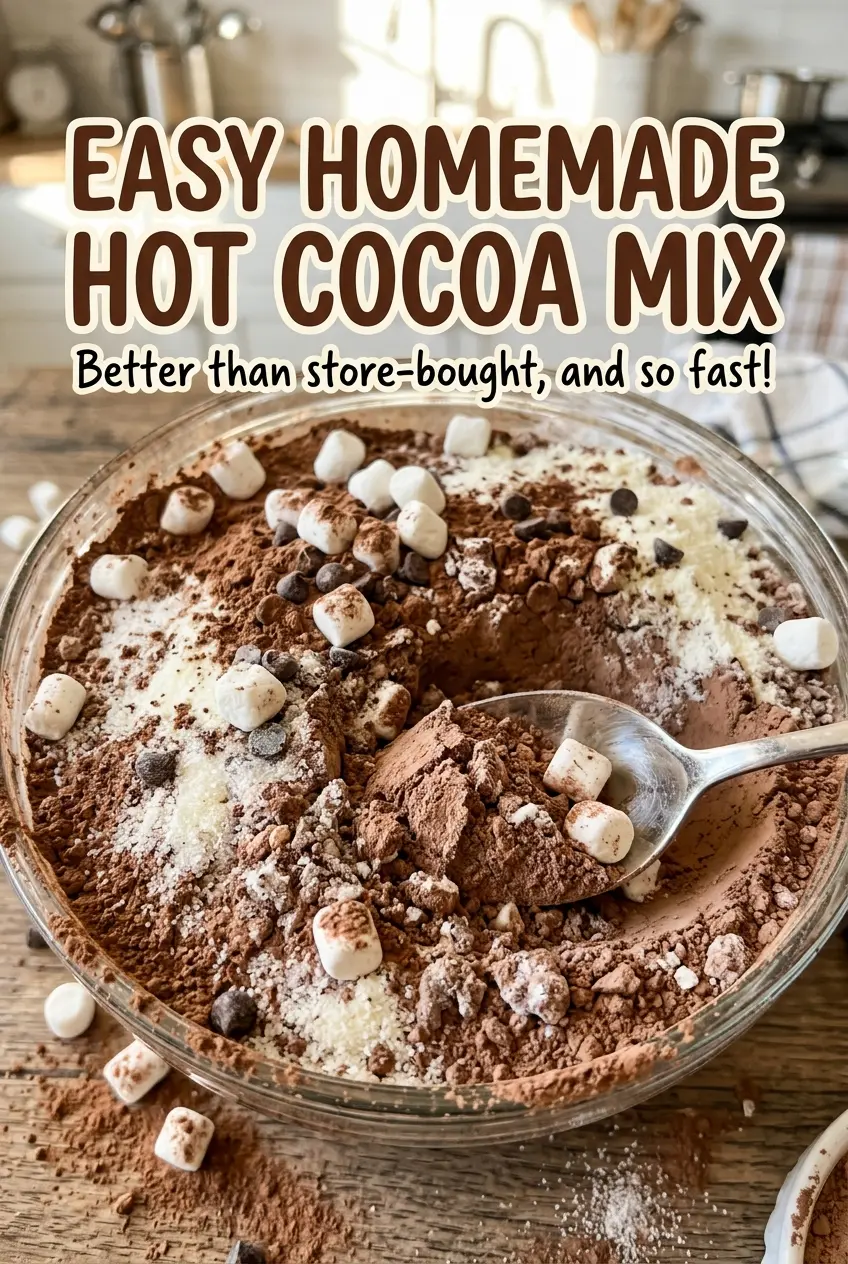
Save this easy homemade hot cocoa mix for a pantry-ready cup with a smooth cocoa flavor and simple, one-serving preparation.
Why One Scoop Can Taste More Chocolatey Than the Next
A dry cocoa mix is made up of powders with different textures. Cocoa powder is fine and prone to little clumps, while sugar and milk powder can settle differently as the container is moved. If the ingredients aren’t blended evenly from the start, a scoop from the top may not taste quite like one from the bottom.
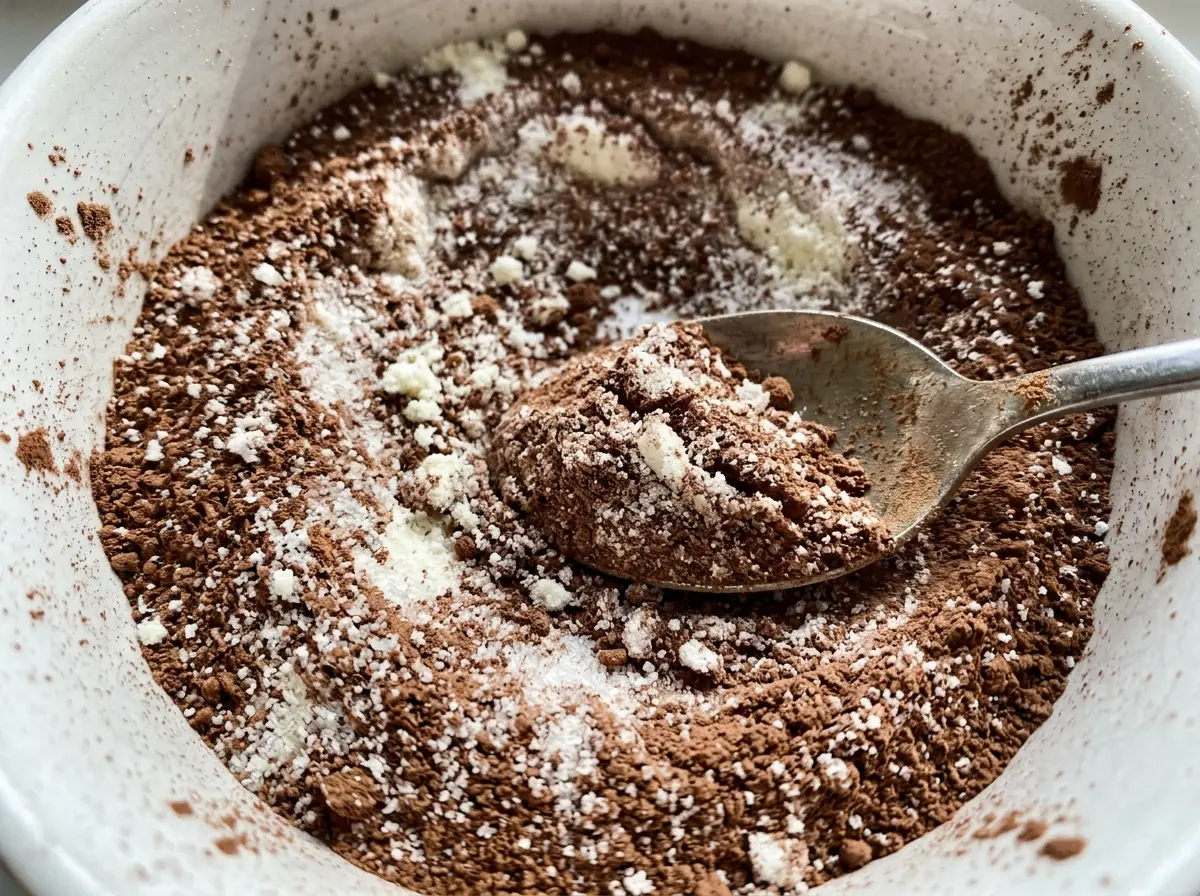
Whisking everything together in a large bowl gives you room to move the powders around and break up lumps before storage. Work around the edges as well as through the center, where cocoa can hide in small pockets. The mix should look consistently colored, with no obvious streaks of cocoa or pale milk powder. This is the useful part to take a little time over: you’re mixing the whole batch once, so the individual cups are quick and consistent afterward.
Don’t pack the blend down when transferring it to the container. A loose, evenly mixed scoop is easier to measure, and the cocoa won’t be concentrated in one dense patch. If the container gets jostled in the pantry, give the dry mix another thorough whisk before measuring a serving.
What Each Powder Contributes to a Balanced Cup
- Unsweetened cocoa powder — This brings the concentrated chocolate flavor, so choose a cocoa you enjoy tasting on its own. A fresh, well-stored everyday cocoa works nicely here; there’s no need for a premium specialty brand. Dutch-process cocoa is a workable swap, with a smoother, less sharp chocolate taste.
- Nonfat dry milk powder — This gives the mix its milky body while letting you prepare a cup with water. For a dairy-free version, use an equal volume of plain, unsweetened soy milk powder made to dissolve in water; the flavor will be a little different, and products vary in how smoothly they blend.
- Granulated sugar — Regular granulated sugar disperses through the dry ingredients and sweetens the cocoa without adding moisture. A basic store-brand sugar is perfectly suitable; brown sugar is not a direct swap here because its extra moisture can make the stored mix clump.
- Kosher salt — A small amount rounds out the sweetness and keeps the cocoa from tasting one-note. Use the specified kosher salt rather than guessing with a different-grain salt, since crystal size changes how much salt fits in a spoon.
Mixing the Pantry Blend and Dissolving Each Cup
Whisk the Powders Until the Color Is Even
Add the sugar, cocoa powder, dry milk powder, and kosher salt to a large bowl. Whisk through the center and around the sides, pressing visible lumps with the whisk until the blend looks uniform. Cocoa can collect in small pockets, so pause to check the bottom of the bowl before calling it mixed. A consistent color is a better cue than a set number of whisk strokes.
Transfer the Blend to an Airtight Container
Once the powders are evenly combined, transfer the mix to an airtight container. Keep the scoop light rather than pressing the mix down as you fill it. Any clumps you spot during the transfer can be broken up with the whisk before closing the container. Store the blend at room temperature.
Whisk a Serving Into Boiling Water
For each cup, bring 1 cup of water to a boil. Measure 1/3 cup of cocoa mix, add it to the boiling water, and whisk until dissolved. Keep the whisk moving through the bottom and sides of the cup or saucepan so powder doesn’t stay stuck there. Serve the cocoa hot once the mixture looks smooth.
Easy Swaps for a Different Kind of Cocoa Mix
Use Dutch-Process Cocoa for a Milder Chocolate Taste
Replace the unsweetened cocoa powder with the same volume of Dutch-process cocoa powder. The drink will taste smoother and less sharp, while keeping the same basic preparation and serving ratio.
Make the Mix Dairy-Free with Soy Milk Powder
Swap the nonfat dry milk powder for the same volume of plain, unsweetened soy milk powder that’s intended to dissolve in water. It makes a dairy-free cup, though the flavor and creaminess depend on the particular powder; whisk the dry mix thoroughly before storing it.
Mix Storage and Serving
- Pantry: Keep the dry mix in an airtight container at room temperature. Use a clean, dry scoop, and follow the date on the dry milk powder package as a guide for the mix.
- Refrigerator or freezer: Neither is needed for the dry blend. Keeping the container at room temperature avoids bringing a cold container into a warm kitchen, where condensation can introduce moisture.
- Serving: Bring 1 cup of water to a boil for each cup, then whisk in 1/3 cup mix until dissolved. Make each serving fresh rather than relying on reheating for the best texture.
Questions That Come Up When Making Hot Cocoa Mix
Easy Homemade Hot Cocoa Mix
Ingredients
Method
- In a large bowl, whisk together the sugar, cocoa powder, dry milk powder, and salt until evenly combined, breaking up any lumps.
- Transfer the mix to an airtight container.
- Store at room temperature.
- For each serving, bring 1 cup of the water to a boil.
- Whisk 1/3 cup cocoa mix into the boiling water until dissolved.
- Serve hot.