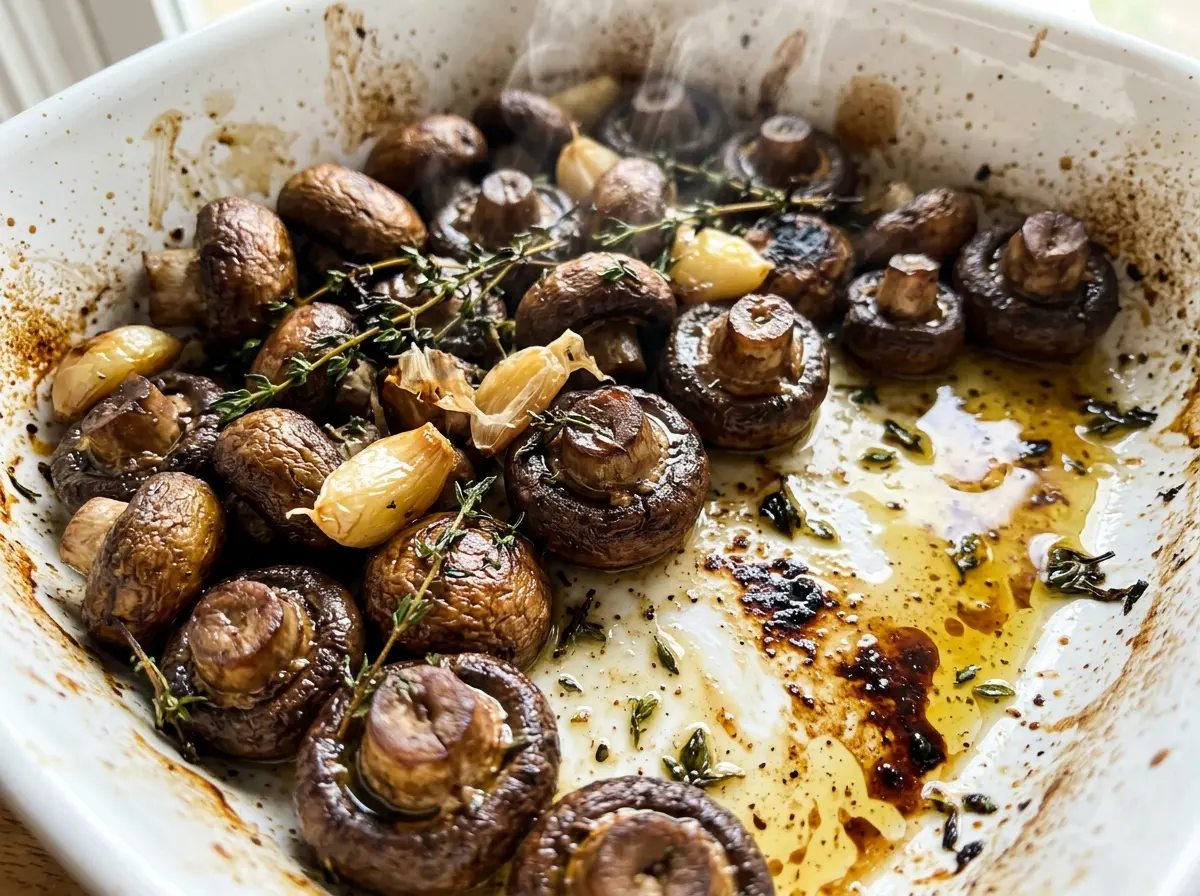
As the mushrooms roast, they shrink and release moisture before their edges start to brown. That first stretch in the oven can look a little underwhelming, but it’s exactly what sets up the browned, tender finish I want from Roasted Mushrooms with Garlic and Thyme.
I add the garlic after the mushrooms have had 15 minutes in the oven. Finely chopped garlic can go from fragrant to bitter if it spends the entire roast under high heat, so the shorter finish gives it time to soften without scorching. The thyme goes on from the beginning, where its leaves perfume the olive oil as the mushrooms cook. Serve them while the edges are still browned and the centers are tender.
Kitchen Note
Finely chopped garlic needs less time in the oven than the mushrooms do. Adding it for just the final roast keeps it fragrant and mellow instead of sharp and scorched.
Save these roasted mushrooms with garlic and thyme for a savory side with browned edges and tender centers.
Why Crowded Mushrooms Turn Soft Before They Brown
Mushrooms contain plenty of water, and roasting drives that moisture out before the surfaces can brown. When pieces are piled together, the escaping moisture has nowhere to go. Instead of roasting against the hot air, the mushrooms sit in steam and turn soft without developing the deep color that makes this dish worth pulling from the oven.
Spread them in one layer across a large rimmed baking sheet, with enough room that they aren’t packed into a heap. They’ll shrink as they roast, so the pan may look generous at the start; that’s useful space, not wasted space. A rimmed sheet also keeps the olive oil and mushroom juices contained as the pieces cook. If your mushrooms are crowded, the biggest improvement comes from giving them room rather than turning up the heat or adding extra oil.
What Cremini, Thyme, and Garlic Each Bring to the Pan
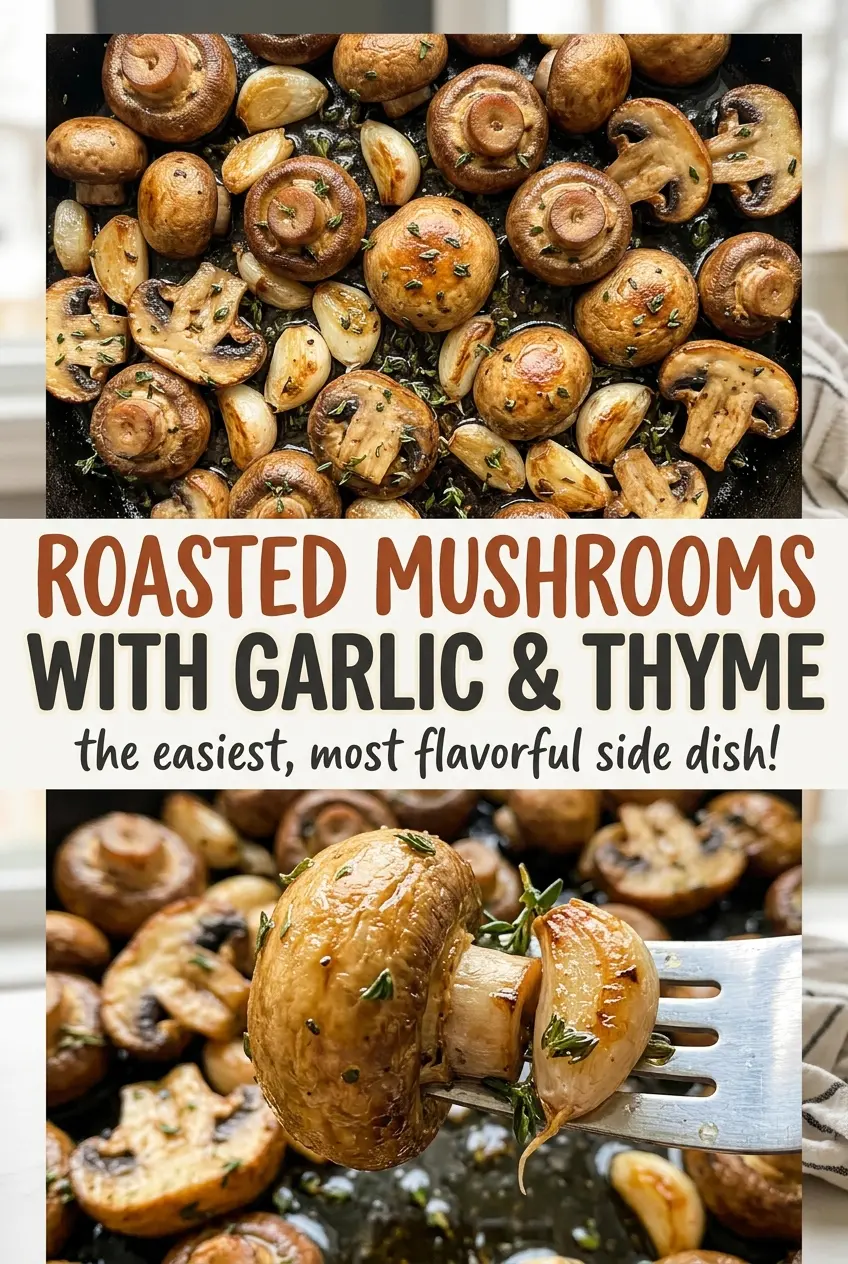
- Cremini mushrooms — Their firm texture and fuller, earthier taste make them a good fit for a hot roast. White button mushrooms work as a same-weight swap, though they taste milder. Choose firm mushrooms with dry, intact caps; halving or quartering larger ones helps the pieces cook at a similar pace.
- Olive oil — It coats the mushrooms so the seasonings cling and the surfaces roast instead of drying out. A standard olive oil is fine here; save a delicate, expensive finishing oil for a dish where its flavor won’t be roasted away. Avocado oil can stand in at the same amount if that’s what you have.
- Fresh thyme — The leaves bring a woodsy, gently floral note that suits the mushrooms without covering their earthy flavor. Fresh thyme is especially nice when the leaves are green and aromatic, but dried thyme works too: use one teaspoon of dried thyme in place of one tablespoon of fresh leaves.
- Garlic — Finely chopped cloves spread their flavor through the mushrooms and the juices on the pan. Fresh garlic gives the clearest, mellowest result. If you don’t have it, leaving it out is a better choice than using garlic powder here, which can taste harsh during the final high-heat roast.
The Two-Part Roast That Lets the Garlic Stay Fragrant
Get the Oven and Pan Ready
Heat the oven to 425°F before the mushrooms go in. Use a large rimmed baking sheet so the pieces can spread out rather than sit in a mound. That open arrangement gives moisture room to escape as the mushrooms roast. If the oven hasn’t reached temperature, the mushrooms may begin cooking slowly instead of getting a hot start.
Coat the Mushrooms and Give Them Space
Toss the mushrooms on the baking sheet with the olive oil, kosher salt, black pepper, and fresh thyme leaves. Turn them until the oil and seasonings are distributed across the pieces. Halve the mushrooms, quartering larger ones, and arrange them in a single layer. Look across the pan before roasting; a dense pile in the center is harder to brown evenly.
Add Garlic for the Final Roast
Roast the mushrooms for 15 minutes, then toss them with the finely chopped garlic and spread them out again. The mushrooms will have started to soften, and the thyme will smell fragrant. Return the pan to the oven for 8 to 12 minutes more. They’re ready when the mushrooms are browned and tender, not pale and firm in the center.
Small Changes for a Lower-Sodium or Milder-Garlic Tray
Reduce the Salt for a Lower-Sodium Side
Use 1/4 teaspoon kosher salt instead of 1/2 teaspoon. The mushrooms will taste less seasoned, but the thyme and garlic still bring savory depth; taste one after roasting before deciding whether you want to adjust the seasoning next time.
Make the Garlic Less Prominent
Use one finely chopped clove instead of three. You’ll still get a gentle garlic aroma, but the mushrooms and thyme will stand out more clearly. Keep the garlic in the final roast so the smaller amount doesn’t spend extra time in the oven.
Storage and Reheating
- Refrigerator: Refrigerate leftovers within 2 hours and keep them in a covered container for 3 to 4 days. The mushrooms will soften as they sit.
- Freezer: Freeze in an airtight container for up to 2 months for the best texture. Thaw in the refrigerator; the mushrooms will be softer after freezing.
- Reheating: Spread them on a baking sheet and warm at 350°F until hot, about 8 to 10 minutes. Avoid reheating in a covered dish, which traps steam and softens the browned edges.
Questions That Come Up While Roasting These Mushrooms
Roasted Mushrooms with Garlic and Thyme
Ingredients
Equipment
Method
- Heat the oven to 425°F.
- Toss the mushrooms with the olive oil, kosher salt, black pepper, and thyme on a large rimmed baking sheet.
- Spread the mushrooms in a single layer.
- Roast for 15 minutes.
- Toss the mushrooms with the garlic.
- Spread the mushrooms out again.
- Roast for 8 to 12 minutes more, until the mushrooms are browned and tender.